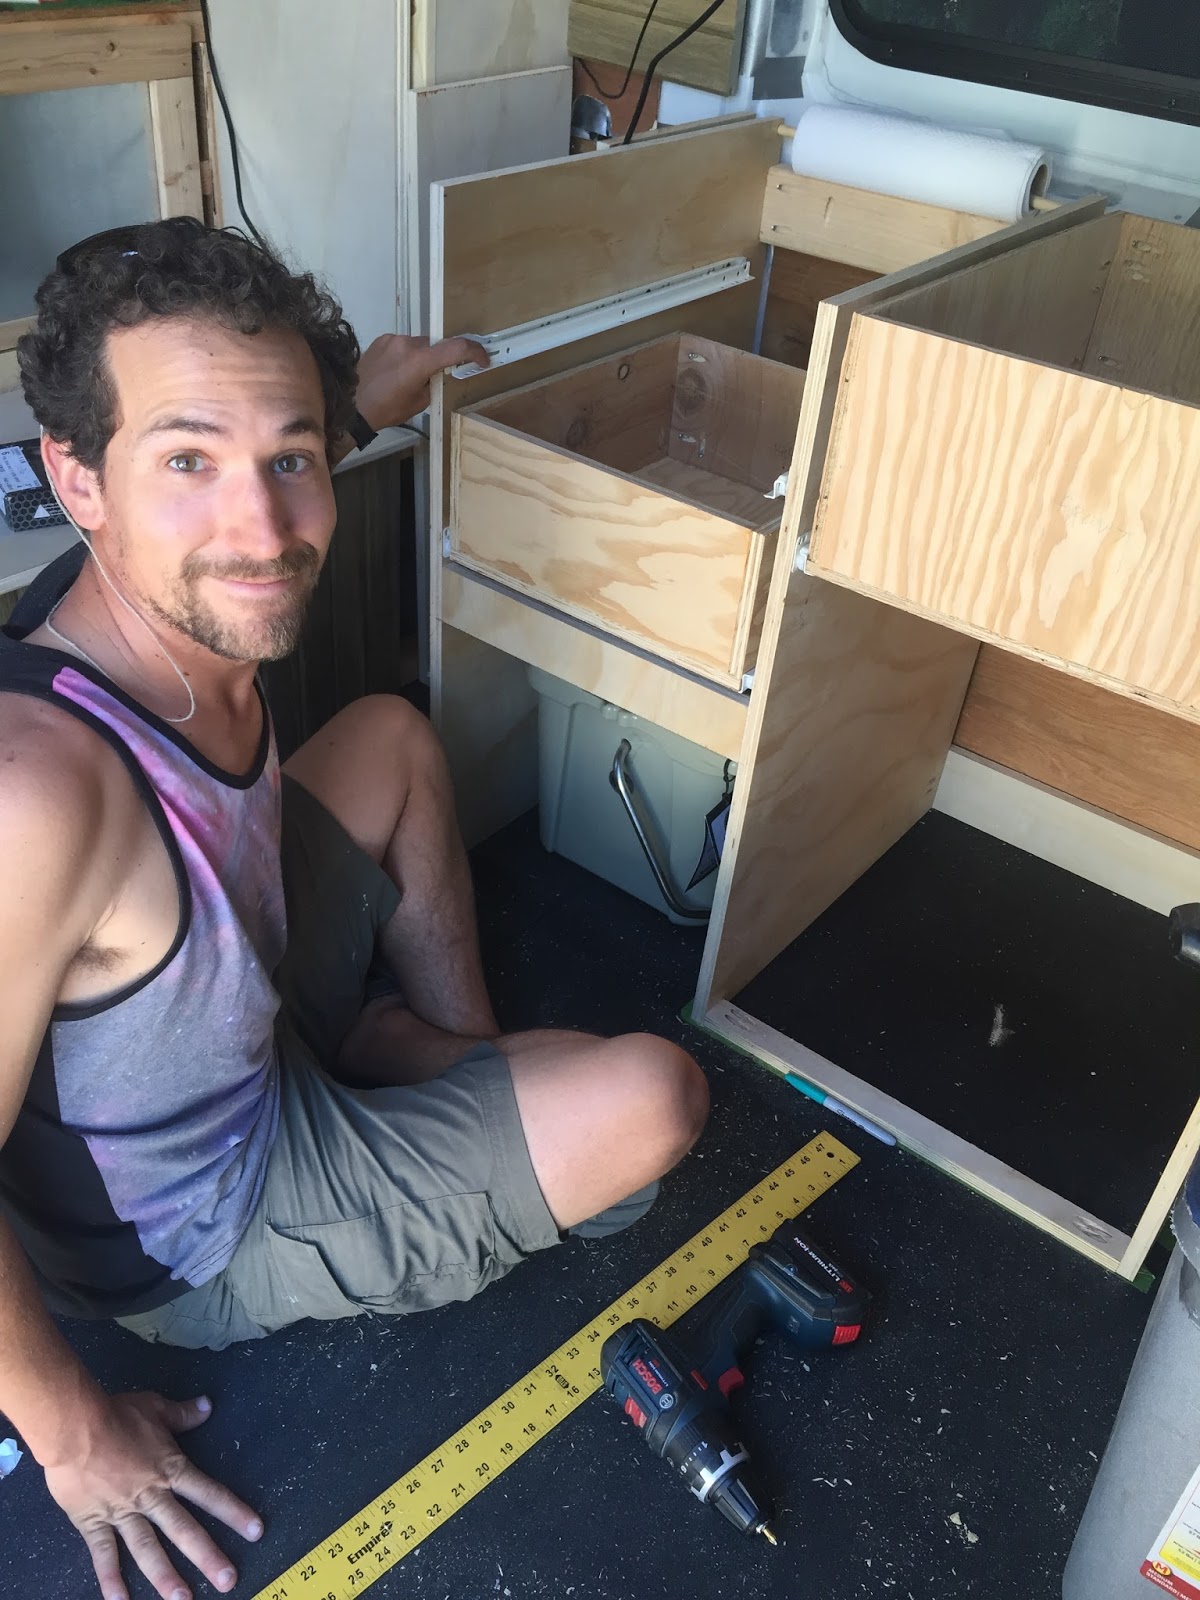
Today we installed the windows in the Promaster. Much to my surprise and delight, it was EASY! We went back and forth between deciding to have these installed by a professional and trying to do it ourselves. My mom pushed strongly for the professional route. I emailed several van outfitters and got a reply from one who quoted me $495 per window. That was a little out of the budget, so after watching some videos and reading up on window installation, we decided it seemed straight forward enough to do it ourselves.
Materials:
Ram Promaster 159-2 window from Motion Windows
Ram Promaster 159-3 window from Motion Windows
Exterior seal tape (included with windows)
Screws (included with windows)
Cardboard, tape, sharpie, measuring tape, scissors (for template)
White paint
Jigsaw with fine-toothed blade
Sander
Flathead screwdriver
Hammer
Drill
Steps:
1. Draw your template. We found a big piece of cardboard and traced along the part of the window that had to fit through a hole. Cut out the cardboard.
2. Remove support bars. The Promaster comes with metal supports between the big panels. They don't seem super important and were obviously in the way of the windows, so we took them out. We used a flathead screwdriver and a hammer to kind of chisel them out.
 |
| Big thanks to my brother for all his help! |
3. Transfer template to van. We wanted our windows to sit as high as they could in the space we had, so we measured the interior clamp ring and positioned our window accordingly along the top edge. We also measured the panel and marked the middle, and then it was easier to line our template up in the middle of the space, with equal edges on both sides. We taped it on and traced around it with a sharpie. We traced and checked our template a billion times for the first window because we were really nervous. This is a good time to measure twice, cut once.
4. It is not possible to cut the whole window from inside the van because your jigsaw will run into things, so you will have to transfer your template to the outside of the van. You can do this by drilling holes along your traced line, then going outside the van and lining your template up with the holes. Trace it on the outside.
5. Protect your paint. If you're not lazy, you will want to tape around your lines with painters tape so the jigsaw won't scrape your paint while you cut. If you are lazy, you can just tape the bottom of your jigsaw and hope for the same effect.
6. Drill and cut. Drill a hole so you can get your jigsaw blade in there. Cut out along the lines. If you are cutting a big window, the piece will get really wobbly and you will want to tape it in place or have someone hold it steady.
7. Dry fit the window and trim any edges if necessary.
8. Paint any raw exposed edges to prevent rust.
9. Install your window according to manufacturer's instructions. For our particular windows, we didn't need to build a frame or anything. We just applied the seal tape to the edge of the window, and popped it into place. Then had one person go inside the van and screw on the interior clamp ring. EASY PEASY!

I am super happy with how the windows turned out. They look AMAZING. Both windows are sliders with screens so we will have awesome ventilation and no bugs. They came with a really nice dark tint so people won't easily be able to look inside. The sliders lock, and the windows feel really sturdy and durable. The smaller window will be above the kitchen and the large window is in the bed area. The large window is reallllllllly big, but I think we are going to be extremely happy with it. These windows were pretty pricey, but it was definitely worth it! Motion makes windows specifically for all different types of vans- Sprinter, Promaster, Transit, so you know they're going to fit. They are slightly curved to go with the side of the van. Keep in mind, these take 6+ weeks after ordering to arrive, so plan ahead!